


Connecting flexible duct to a flange: clamps and sealing
A reliable flexible duct connection needs the correct fit, mechanical fixing and careful sealing. Follow this sequence to build a joint you can inspect properly.
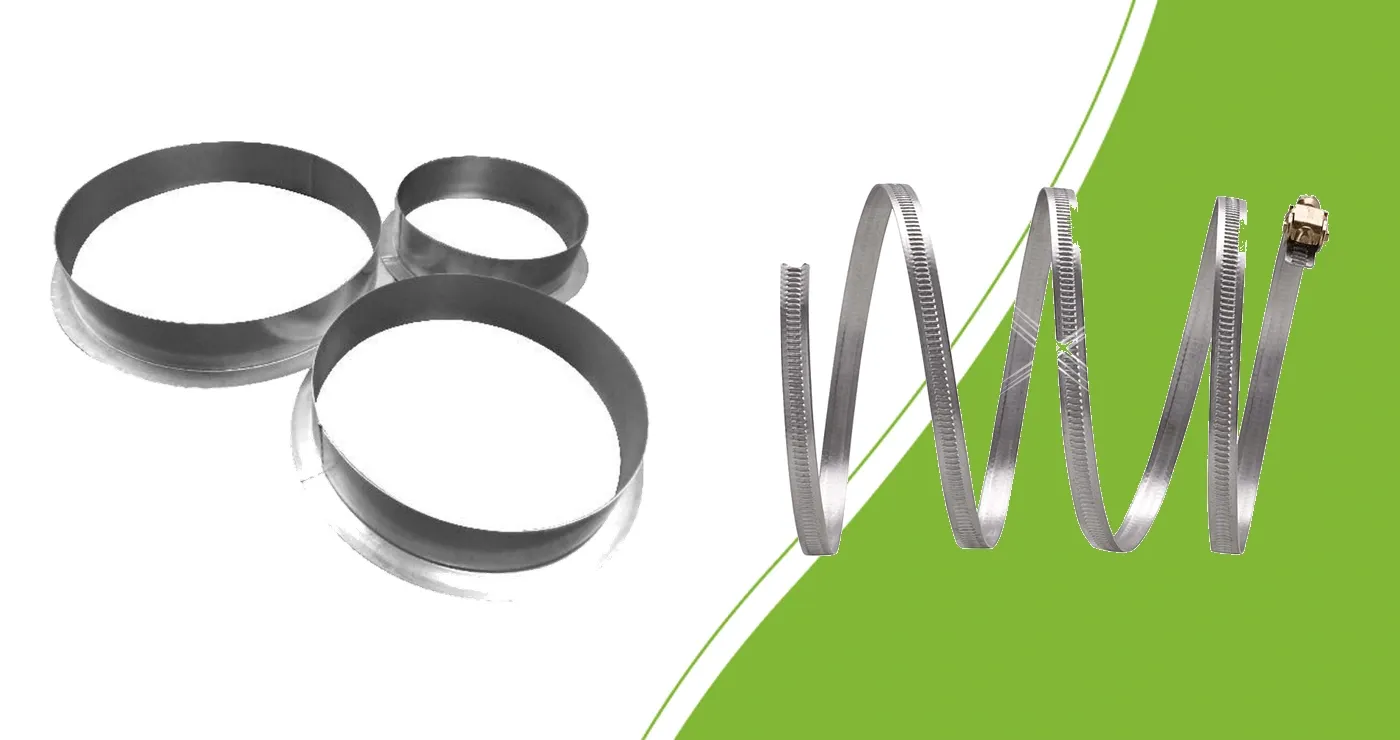
Start with matching ducting and a flange
Check the connection diameter of the duct and ventilation flange before assembly. Inspect the edge and available insertion space. More tape cannot correct a tear, a damaged edge or an incompatible diameter.
For a new flange, check its mounting plate, fixing points and supporting surface as well as duct size. A 160 mm flange must suit both the intended connection and its fixing arrangement. Check diameter and fit first when the combination is uncertain.
Choose a clamp for the assembled joint
The clamp's working range must fit around the duct as it sits over the spigot. Measure that combination's outside circumference or diameter. The bare duct size is a starting point rather than a complete clamp calculation. Check band width and available space behind the edge too.
A 65–165 mm duct clamp has an adjustment range; 165 mm is not its only usable size. Choose a duct clamp that closes securely within its intended range. Do not force it beyond that range or tighten until the duct or plastic spigot deforms.
Assemble in a sequence you can check
Switch equipment off before working around the connections and allow enough access.
Prepare a neat duct end and slide it squarely over the intended spigot.
Position the clamp over the supported part of the connection.
Secure the joint without crushing the air passage.
Seal with material suitable for the duct and surface.
Support the run so its weight and tension do not hang from the joint.
The clamp provides mechanical fixing. Sealing material closes potential leak paths. Tape alone does not replace a suitable mechanical joint, and a tightened clamp does not by itself establish airtightness.
Finish insulated ducting layer by layer
Insulated flexible ducting has an inner air passage, insulation and an outer jacket. Connect the inner duct correctly, then finish the insulation and jacket. Clamping only the outer jacket can leave the inner duct loose or leaking.
Use an assembly method and sealing material suitable for the exact duct. Do not apply one universal overlap length or tightening torque to every product. Keep the joint accessible for inspection and replacement. Our flexible duct selection guide helps with choosing the duct type.
Check with the complete route connected
Check that the duct remains seated, the clamp rests correctly and the run has no kinks. Start ventilation and assess leakage, vibration and loose parts. Include filters and branches: a fan running without connected resistance does not show how the complete system performs.
If a joint keeps leaking, dismantle it and inspect its fit and edge. Another layer of tape over a loose or crooked fitting only conceals the problem. For branched layouts, also review our tee and Y-piece guide.