


Choosing duct fittings: diameter, fit and reducers
A duct fitting works when its function, diameter and connection type match the installation. We explain how to choose flanges, connectors and reducers without relying on a size name alone.
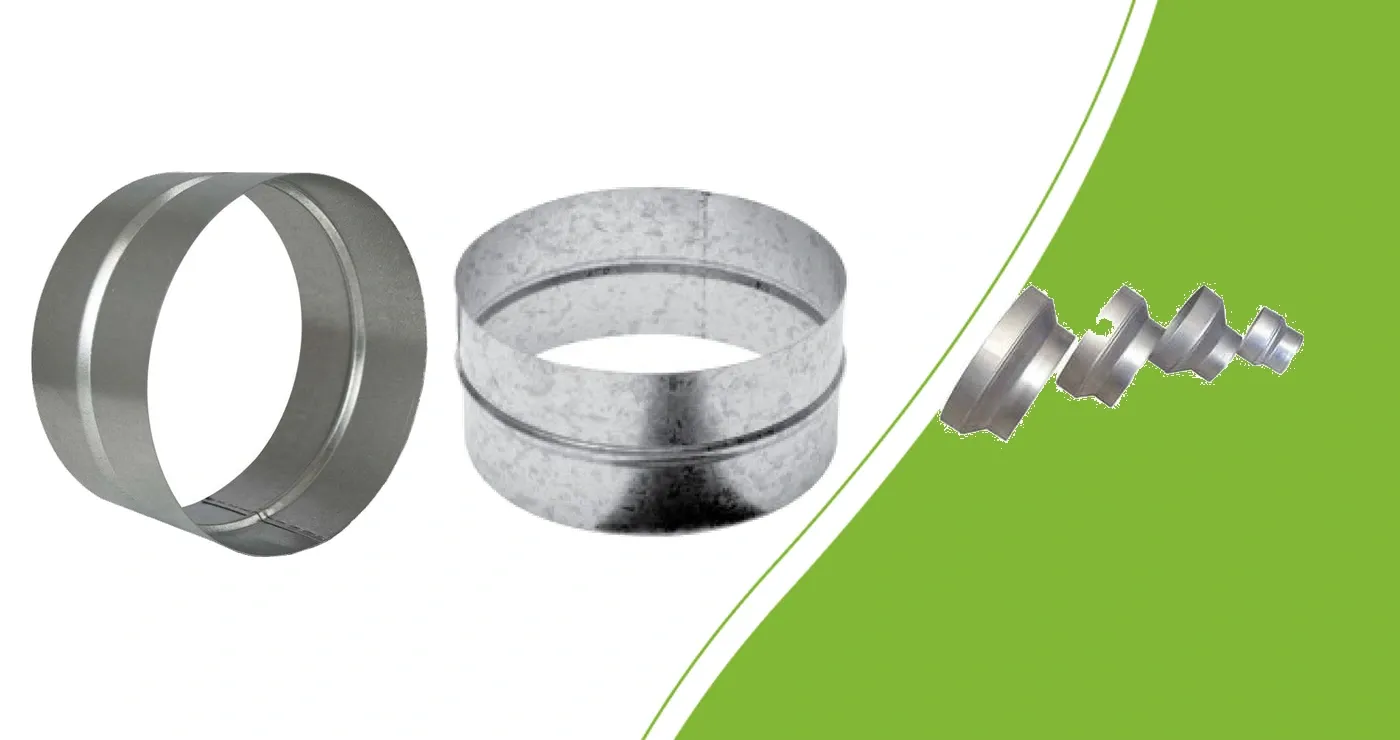
Record each connection separately
Sketch your ventilation route. Record the connection diameter at the fan, filter, flexible duct and each rigid component. Establish which parts must slide inside or over each other. Measure an existing connection when its size is uncertain: a spigot's outside dimension differs from a duct's inside dimension.
When choosing duct flanges and fittings, start with function. A straight connector joins components. A reducer bridges different diameters. A flange provides a duct connection on a suitable surface or appliance. The plate around it does not identify the duct diameter.
A shared size name does not establish fit
Our range includes a 160 mm connector for flexible ducting and a 160 mm connector for fittings. Check which version your joint requires rather than choosing from the number 160 alone.
Similar size names also need care. Do not automatically treat 125 mm and 127 mm as interchangeable. Compare inside and outside dimensions, insertion length and intended duct type. A clamp secures a suitable connection; it cannot make an incompatible diameter correct.
Check both ends of a reducer
A 160–200 mm reducer must match the route at both ends. Allow for its installation length as well. You need room between the fan, wall and duct bend for the fitting and its fixing.
A reducer solves a size mismatch but does not make a restriction neutral to airflow. A circular 160 mm opening has roughly 64% of the cross-sectional area of a 200 mm opening. This is a geometric comparison, not a percentage airflow loss. Actual airflow depends on the fan, filter, duct length and all fittings together.
Plan fixing and maintenance
Lay out the components before final assembly. Check that joints align without strain and leave room to tighten a clamp or replace a component. A short route with suitable parts is more practical than several reducers correcting an earlier size choice.
Secure and seal joints using a method suitable for the exact components. Support heavier sections separately. Check that flexible ducting remains open and does not kink. Our flange and duct clamp installation guide covers the fixing checks.
Order from a connection list
Record the function and size at both ends of each joint.
Check inside dimensions, outside dimensions and intended fit.
Allow for insertion length, bends and access.
Select suitable fixing and sealing.
Assess the complete air path after assembly.
If the route needs a branch, compare a duct tee and Y-piece before completing the list.