


Choosing grow tent ducting: diameter, length and fitting
Choose ducting around your connections and the route through your tent. This guide helps you select a type and avoid unnecessary bends, leaks and resistance.
1. Record the connection sizes first
Write down the connection sizes on the extractor, carbon filter and tent port. Sketch the route so you can see where a bend, connector or reducer is needed. A size in a product name does not prove that every component with a similar diameter will fit.
Prefer a route with matching connection sizes. If they differ, choose a reducer that fits both ends. Fan wattage alone cannot tell you which duct to buy: the connections and complete air path determine the practical choice.
2. Choose between transport, insulation and distribution
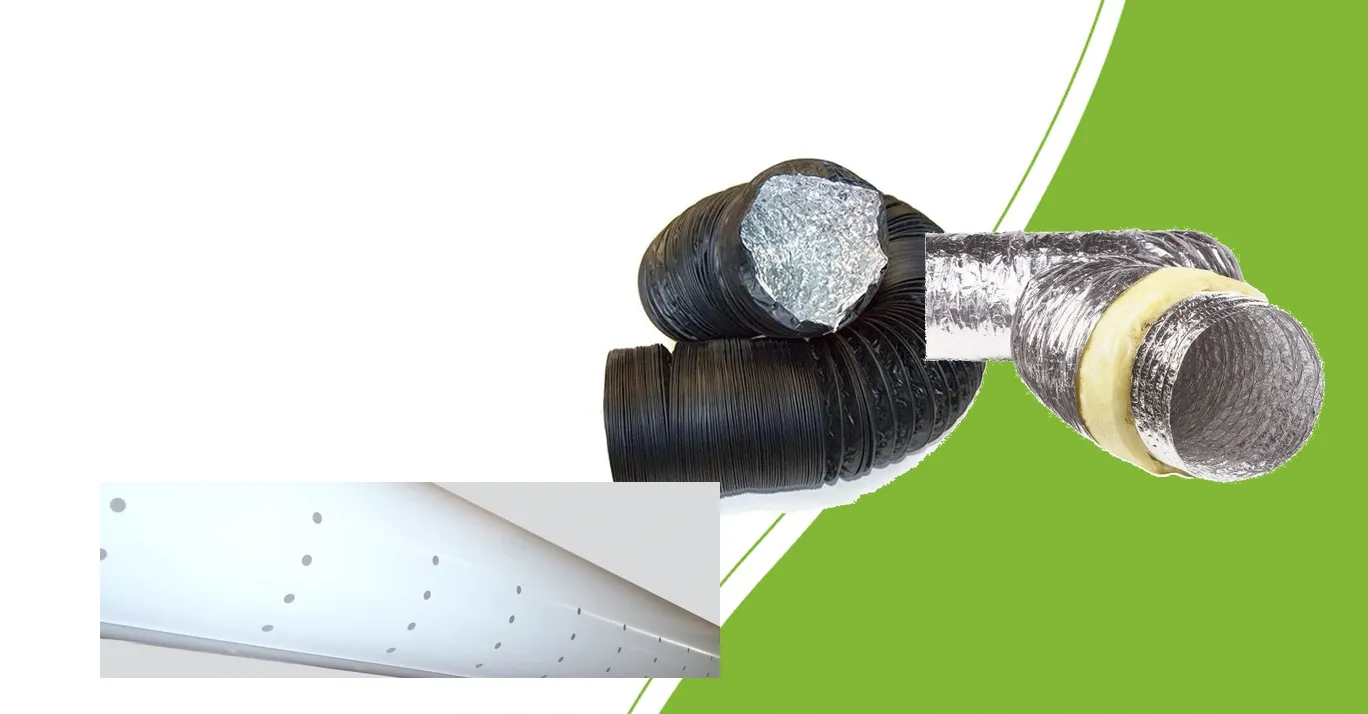
Combi Connect and Sono Connect provide two flexible ducting options in this category. Combi Connect has a black outer layer. Sono Connect is insulated and needs more space around its inner duct. Consider whether noise matters at the intended tent location.
An air distribution duct does a different job. Its holes release supply air along the run. Choose it to distribute air rather than as a closed exhaust path. The transparent film and visible holes help you recognise its function in the product photograph.
3. Measure the route, not just the straight-line distance
Allow for the distance between components, connections and broad bends. A 10-metre roll gives you material to cut to length; it is not a recommendation to hang all 10 metres inside a small tent.
Excess duct often forms loops or compressed sections. Extend the part you use and support it to keep the passage open. Avoid a sharp bend directly at the fan outlet.
4. Secure and seal the joint
Fit the inner duct over the matching connection. Use suitable airtight tape and a correctly sized clamp. Check that the fixing grips the connection rather than only a loose edge.
On insulated ducting, finish the insulation and outer jacket too. Do not leave an open joint between the inner duct and jacket. Do not clamp only the soft insulation or leave loose insulation in the air path. Support the duct so its weight does not pull on the joint.
5. Check the complete system
Run the ventilation with the filter and entire duct route fitted. Check around the joints for air leaks and make sure the duct is not collapsing or being squeezed. Listen for components vibrating against each other.
If airflow seems weak, inspect bends, restrictions and the filter before buying another fan. A nominal airflow figure is not a measured result in your tent. Calculations require information about the fan, filter and complete duct route.
Prepare your order
Note the duct type, connection size, required length, clamps and any reducers. For perforated distribution ducts, check the diameter and length combination. Several lengths are available, but each diameter has its own range.