


Set up your harvest workspace: trimming, drying and packaging
A useful harvest workspace starts with the order of your tasks. Make room for trimming, drying and packaging, and keep batches clearly separate. This checklist helps you choose the right equipment in advance.
1. Map the route your material takes
First, note what you want to do after harvesting. Are you working with individual leaves, flowers or larger plant parts? Preparation and storage methods can differ. Keep batches separate and identify what still needs processing and what is ready. This reduces searching and moving things around while you work.
Divide the workspace into a trimming area, a clear drying setup and a packaging area. It does not need to be a large room. Access to each stage matters more than putting as much equipment as possible on one table.
2. Choose tools around the trimming task
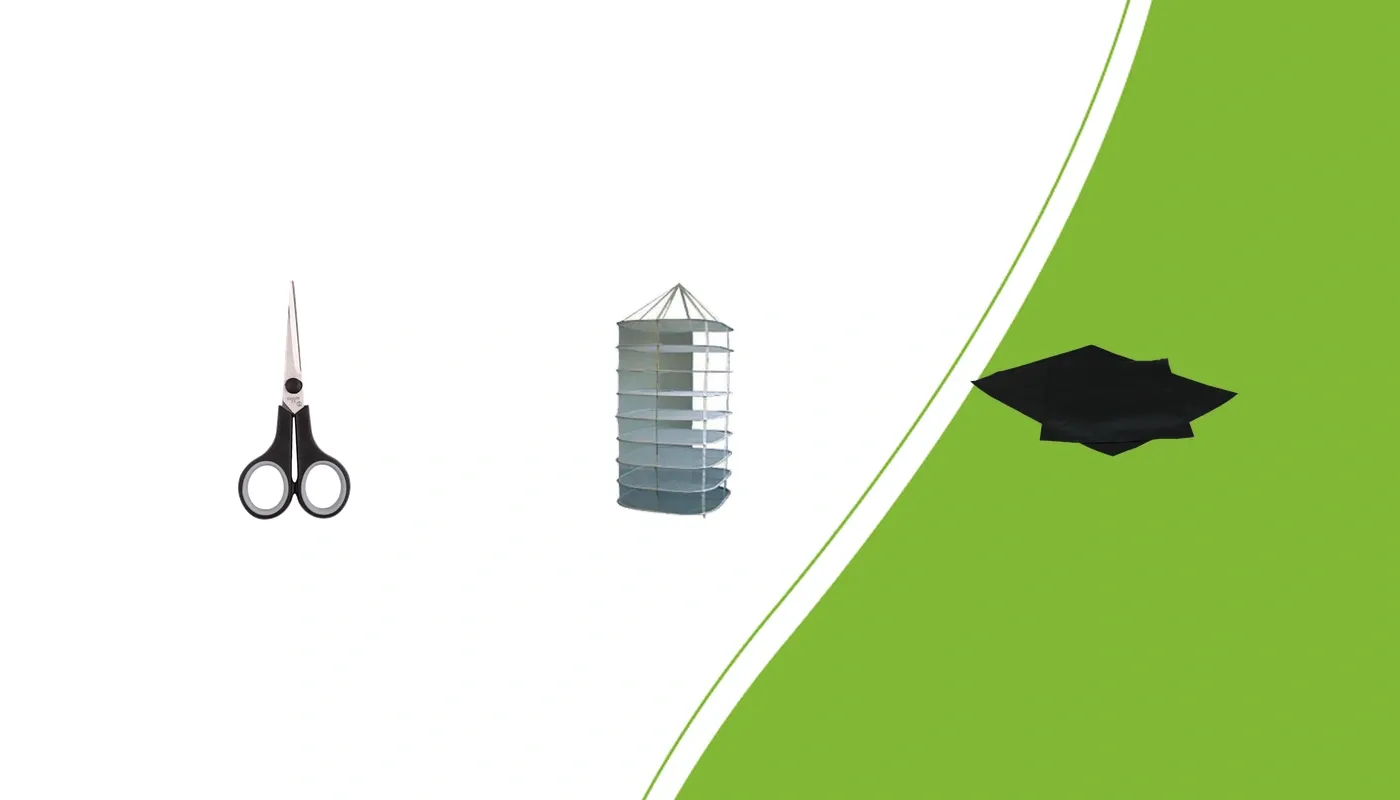
For individual cuts, browse our harvest scissors: Solinger Perfection Topschaar, Fertraso Softgrip schaar and Snoeischaar. Compare the grip and blade shape with your intended task. Leave space to put tools down and remove trimmings.
If you are considering a Tumble Trimmer, choose deliberately between manual and electric drive. Allow for setup space, access to the bowl and cleaning. Check the instructions for your exact machine before use.
3. Measure the drying area before harvesting
Measure the free space between the frame and equipment, rather than relying on nominal tent or room dimensions. A hanging Fertraso drying net needs a suitable hanging point and access to its tiers. A stackable rack needs a stable surface. Leave room for air movement around the setup.
Keep batches separate and spread material without thick piles. Follow conditions with a thermo-hygrometer. Drying time is not a fixed property of the net: plant material, moisture and conditions determine how the process develops.
4. Prepare packaging as the final stage
Decide in advance which packaging you need. A grip bag is useful when you want regular access to the contents. A heat-seal bag needs a suitable sealed closure. Choose a size with room for the contents and the closure. Do not use a closed bag to skip an unfinished drying stage.
5. Walk through the setup
Before starting, check that tools are clean, the drying equipment is standing or hanging securely, and packaging is ready. Keep access routes clear and batches clearly identified. Remove leftover material afterwards and let cleaned parts dry before storing them.