


Mammoth Lite+ 100 or Pro+ 100: which fits your setup?
Both Mammoth tents measure 100 × 100 cm, but their height and construction differ. Compare Lite+ 100 and Pro+ 100 and check the space needed for your light, pots and ventilation.
Written by Jesper van der Weide
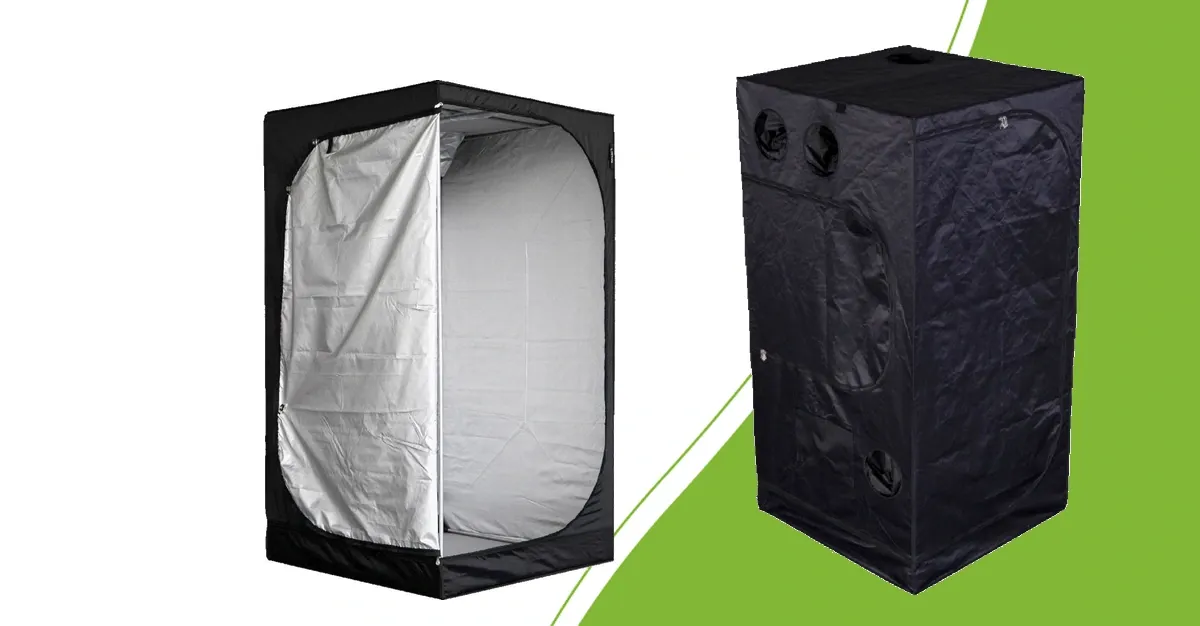
The same length and width, 20 cm more height
When comparing two Mammoth grow tents with 100 in the name, check all three dimensions. The Lite+ 100 measures 100 × 100 × 180 cm. The Pro+ 100 measures 100 × 100 × 200 cm. The Pro+ uses the same length and width but requires 20 cm more headroom. Your room needs to accommodate it.
How do fabric and frame differ?
The Lite+ 100 uses 170D Mylar and 16 mm frame tubes. The Pro+ 100 uses 600D Mylar and 22 mm tubes. The D rating describes a property of the fabric yarn; it is not a reflectivity percentage. A larger tube diameter alone does not state a permitted equipment load either. Check the exact model’s load limits and supports before hanging equipment.
Draw a height plan first
Total tent height is not usable plant height. Draw your setup from the floor upwards: pot or table, plant, required light clearance, fixture and hangers. Reserve additional space for the filter and ducting where you intend to install them.
Use the clearance instructions for your exact light, adjusted to the crop and growth stage. There is no single distance for every LED. The Pro+ model’s extra 20 cm gives you more layout space; it does not guarantee higher yields or a suitable lighting plan.
When should you choose Lite+ 100?
Choose Lite+ 100 when its 180 cm height works for your room and complete equipment layout. Make sure you can open the door and reach plants, connections and equipment. A shorter model does not automatically solve a lack of room for hangers or light clearance.
When should you choose Pro+ 100?
Choose Pro+ 100 when your room can accommodate a 200 cm tent and you want the extra headroom. Its different fabric and frame are another consideration. Compare the current product price and included components, then add the accessories your setup actually needs.
Select lighting and ventilation separately
Choose an LED grow light by size and light distribution. Check that the fixture can hang without distorting the tent. Plan the airflow path with a carbon filter, inline fan and ducting. Use the actual connections and resistance rather than the tent’s model name.
Checks before ordering
Measure the room’s available length, width and height.
Allow access to the door and connections.
Draw in pots, plants, light clearance, fixture and hangers.
Check openings, suspension points and permitted loads.
Check included parts and select any missing equipment.
Still comparing sizes? Explore the Lite+ range or return to all Mammoth grow tents. For the installation sequence, read our existing guide to setting up your grow tent in five steps.
100 × 100 cm: Lite+ 100 or Pro+ 100?
| Feature | Lite+ 100 | Pro+ 100 |
|---|---|---|
| SKU | 8.000.271 | 71.526 |
| Length × width × height | 100 × 100 × 180 cm | 100 × 100 × 200 cm |
| Tent height | 180 cm | 200 cm |
| Reflective fabric | 170D Mylar | 600D Mylar |
| Frame tubes | 16 mm | 22 mm |