


Connecting garden hose: choose the size and fittings
Hose size, thread size and coupling profile determine the parts you need. Follow this sequence to check a connection to a tap, pump or watering wand.
Record both ends of the connection
Start with what you want to join: a tap and hose, a hose and pump, or a hose and watering wand. Photograph both ends and record their size markings and connection type. A product name that only says “1 inch” does not tell you whether you need a hose tail, female thread or male thread.
Work from the water source to the outlet. For each transition, note which side attaches to the hose and which must fit the other component. This simple list helps prevent ordering two fittings with the same thread gender.
Check hose size separately from thread size
A hose tail needs to match the internal diameter of the hose. A threaded port requires the correct nominal thread size, male or female connection and thread type. These are different specifications. A 25 mm hose and a 1-inch thread are not identical dimensions that can be measured in the same way.
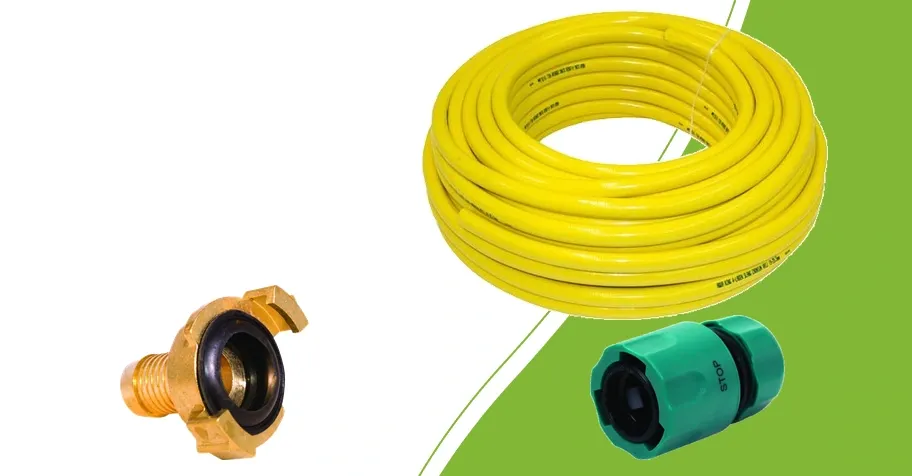
Our range includes a 25 metre coil of 12.5 mm garden hose and yellow 25 mm hose sold by the metre or as a 25 metre coil. Measure the route and check existing connections. For a new run, also consider required flow, available pressure and hose length.
Identify claw and push-fit connections
A claw coupling has lugs that turn into a matching second coupling. A push-fit connector uses a different coupling profile. The systems do not automatically work together because both are used for garden hose. A transition requires a suitable component with both ends verified.
The brass claw couplings in our range come with different thread sizes and genders. The plastic push-fit connectors have ½-, ¾- or 1-inch female threads. Compare the exact item with the part you already own; a brand name alone is insufficient. For a hose connector, also check its intended hose size and push-fit profile.
Choose the correct securing and sealing method
The hose needs to fit securely on the intended connection. Match hose retention to the hose, tail and application. For threaded fittings, check whether the seal is provided by a ring, a face or the thread joint. Follow the assembly method for the exact component rather than adding sealing materials at random.
A high pressure rating on one coupling does not prove that the complete system can withstand that pressure. The hose, other joints and equipment have their own limits. Drinking water use also requires verified suitable components; brass or yellow plastic alone is not sufficient evidence.
Open the water supply gradually and inspect
Remove dirt and check seals, threads and hose for damage. Lay out the hose without sharp kinks. Open the water supply gradually and check every joint while the system is running. Look for movement or tension where the hose meets the tap or pump.
If a joint leaks, shut off the supply and release pressure before disconnecting it. Check size, seal and assembly before tightening again. If the cause remains unclear, photograph both connections and send us the dimensions. Those details let us help more accurately than a description such as “the hose does not fit”.